My second attempt at a pizza oven
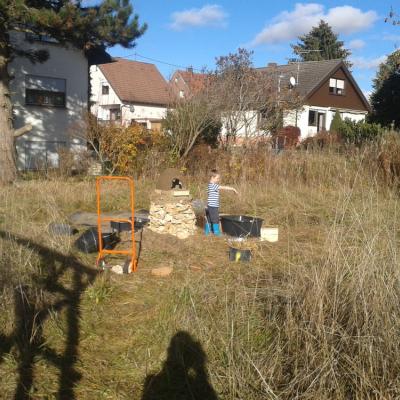
So last year, I felt the itch to cob (no really, this is a thing!), and I finally decided to build another pizza oven just for fun and practice, right where the house will be. I liked to think of it as a small building site as a foretaste of the big one to come. I started on October 3, which is pretty late – but I got super lucky and we had a long dry spell and a lot of sun well into November. I stopped working on the oven after November 13, because I was sufficiently done and it was getting cold. Of course, we could have built this in two days with four or six hands, but as I said I was itching to get going and nobody else was, so I did most of the work on my own in the weekday afternoons, between picking Mio up from kindergarten and making dinner.
The stone plinth
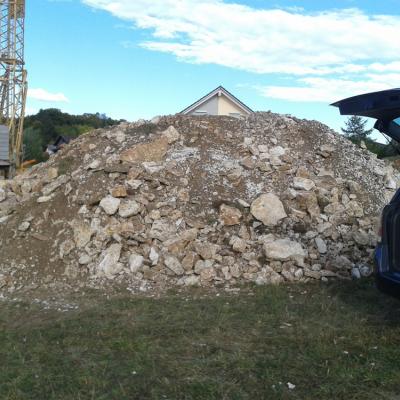
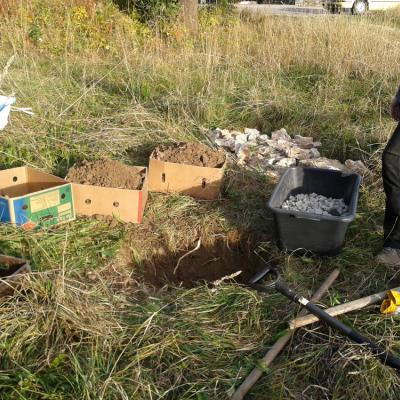
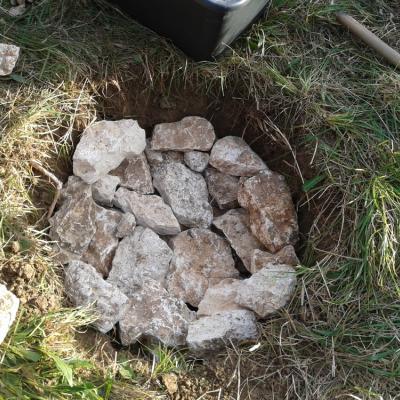
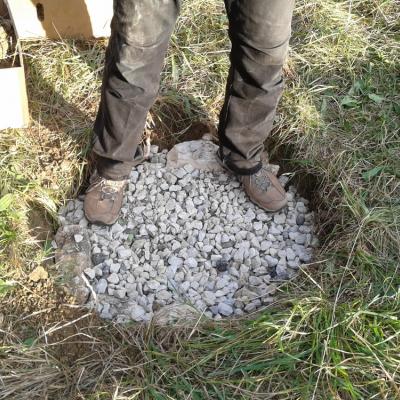
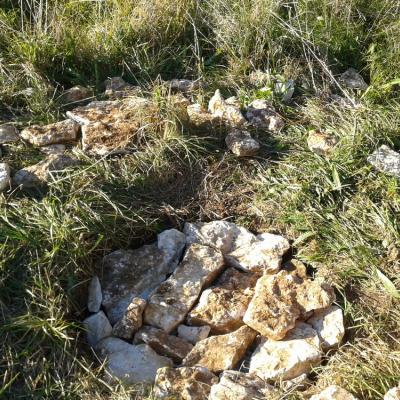
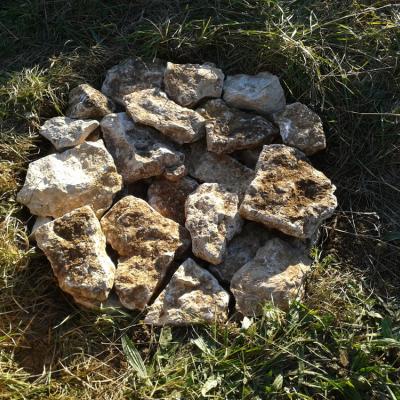
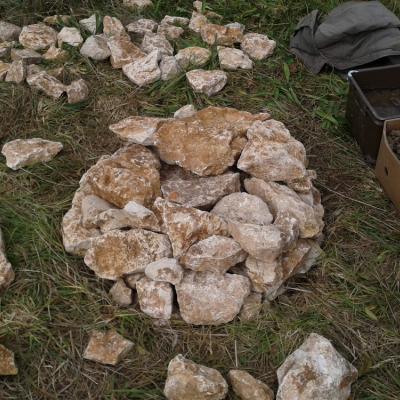
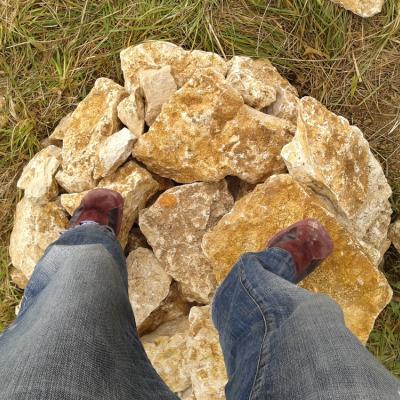
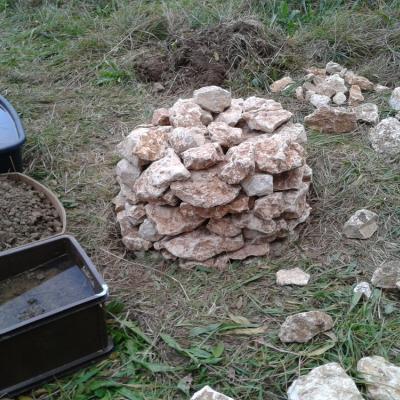
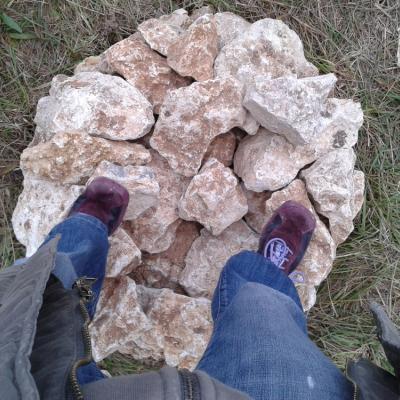
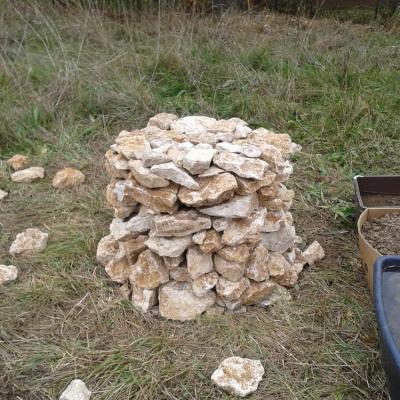
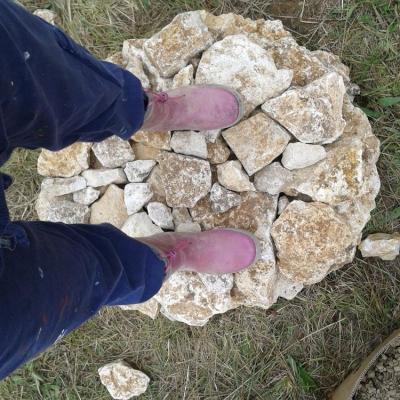
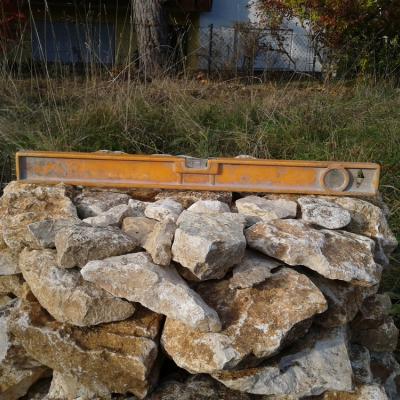
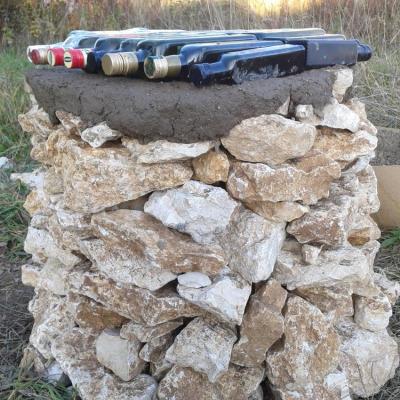
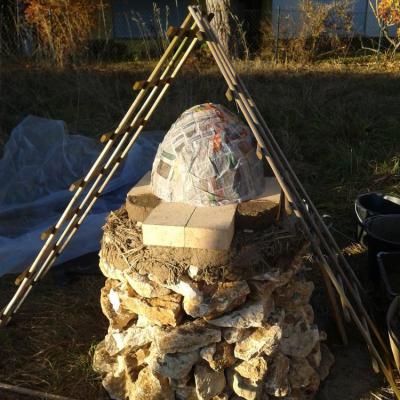
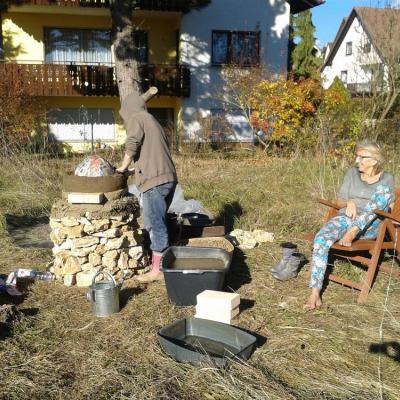
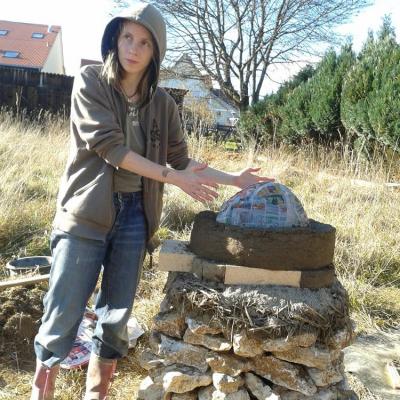
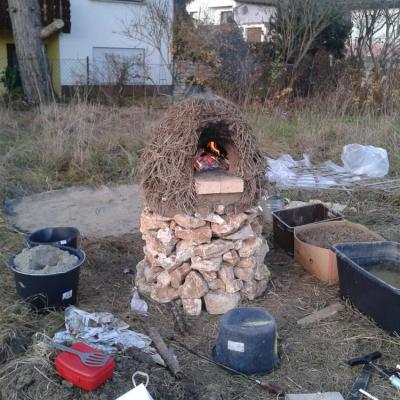
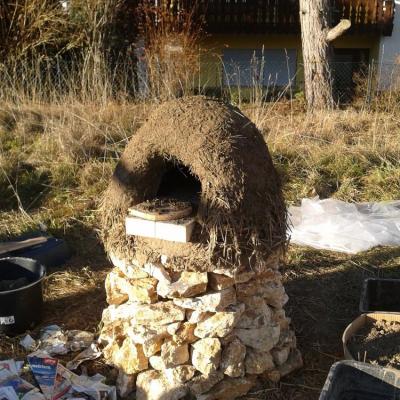
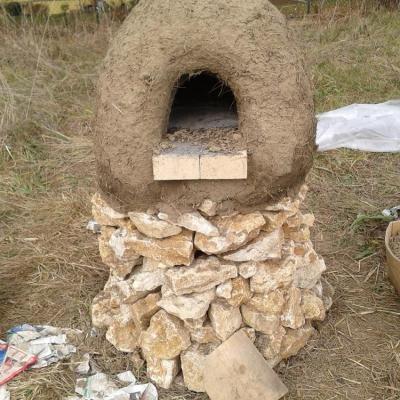
There was a building site just around the corner with a LOT of excavated stones. I had a nice chat with the owners of the new house and they said I was absolutely free to help myself to any amount of those, so we drove the car over a couple of times and filled the boot with the biggest stones I could still handle. (Might have done it all in one go, but we mostly only had odd half hours to do this and I wasn’t too sure how much weight the car would cope with.) I had only done dry-stacking once before (on the plinth of my first cob oven), and the stones came in all shapes and sizes, but I love jigsaw puzzles soooo I had quite a lot of fun. I built this over the course of three weeks though, in the odd half-hours between work and cooking and picking up kids or putting them to bed, it did take quite a while and a lot of fiddling. (Don’t do something like this if you’re impatient.) It did grow inward a little again, but certainly not as much as last time. I still rolled my eyes when I measured the diameter of the top though, and had to do some readjusting with the size of the oven.
Laying the floor
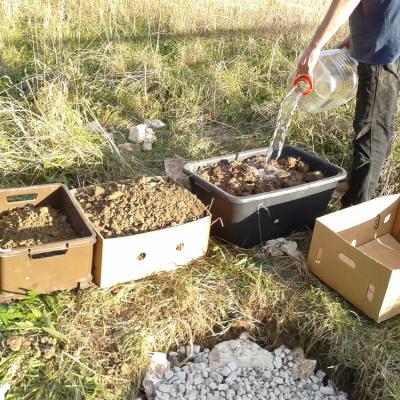
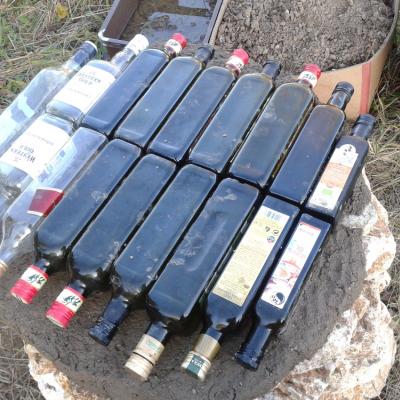
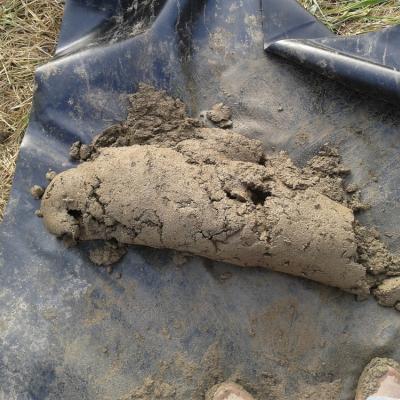
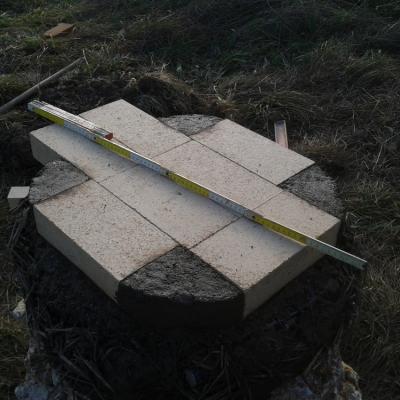
I was amazed at the subsoil we’d dug out: very clayey, and a total pain to dig into, but almost stone free! I hardly even found any smaller pebbles. Very good :-D so my cob mix turned out to be just like Kate’s, about three to one sand/soil. Maybe even four, depending on what I was mixing. I decided to do a bottle insulation subfloor again, but also to make sure that the rest of the insulation layer would be better than last time. I’d been collecting square-shaped bottles for a while but still had to use some differently shaped ones in two or three places; shouldn’t be a problem though, I think. Just sat them in a bit of cob and that was that.
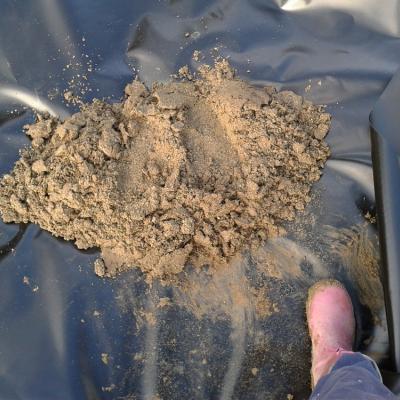
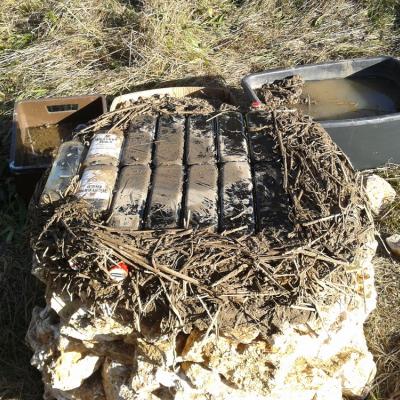
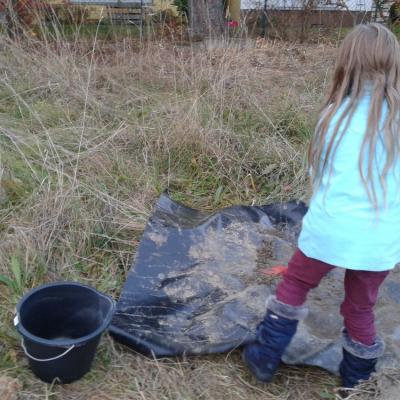
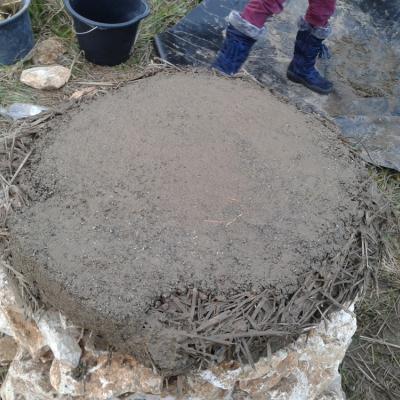
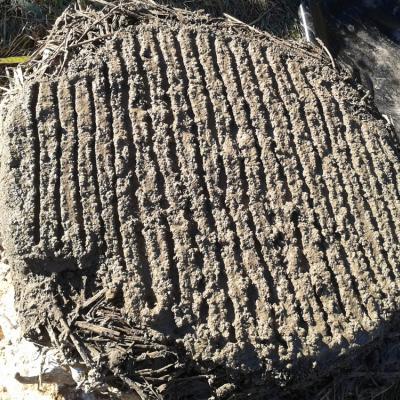
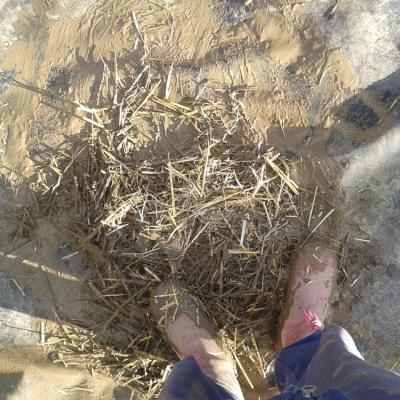
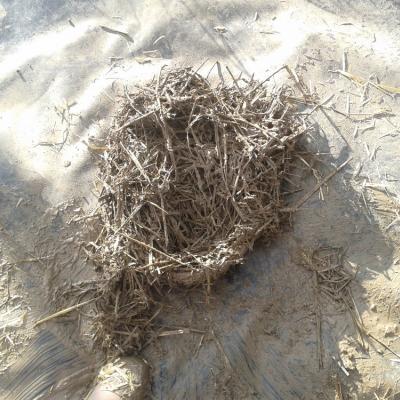
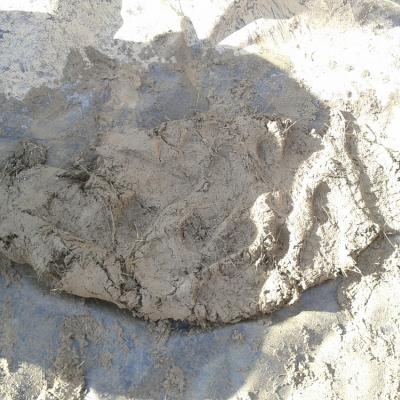
Since the last experimental insulation mix of clay slip and sawdust didn’t work out so well, plus I had some straw lying around, I had a go at making slippy-straw. I simply put some soil on my tarp, added quite a bit of water, and then loads of straw, and shoved it around with my feet until adding more straw would leave dry parts. And then I just slapped that mix on, slip slop. That was fun! So I put that around the bottles, also trying to grow out just a bit so my bricks would fit… then a thin layer of fairly wet cob, with grooves so I would be able to snuggle the bricks into that.
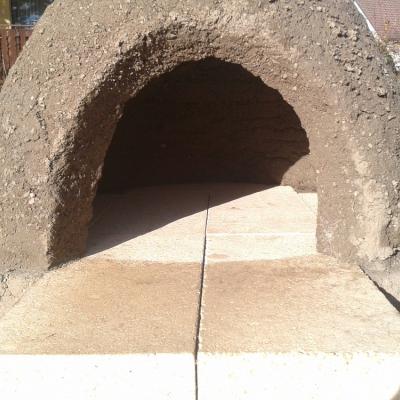
Long story short: Laying and more so, leveling the bricks took absolute ages, and wasn’t so much fun to do. Also I had to shrink the diameter (see the story of the plinth), so my bricks wouldn’t fit the way I’d planned them to. (I had ordered those online and paid 40 € plus shipping for ten of them.) So uuuuggggh in the end I had three left, and the floor was MOSTLY level, and I just filled some cob in the corners.
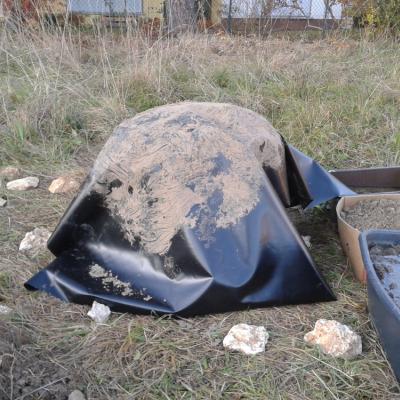
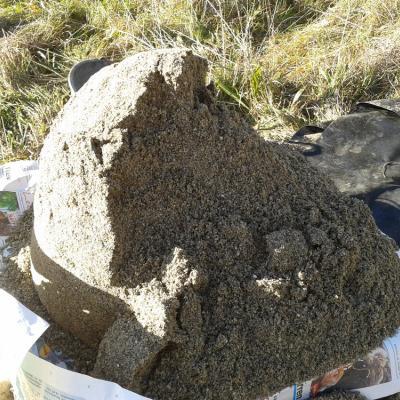
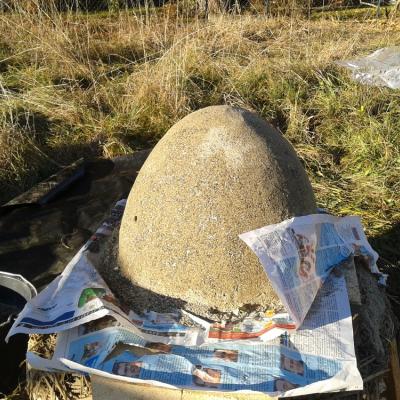
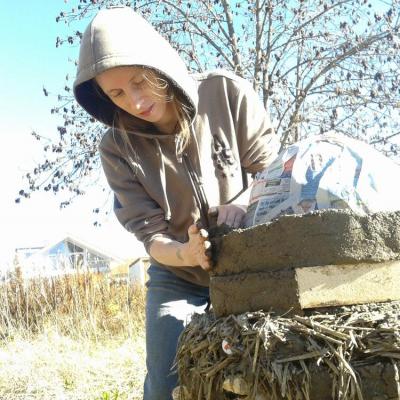
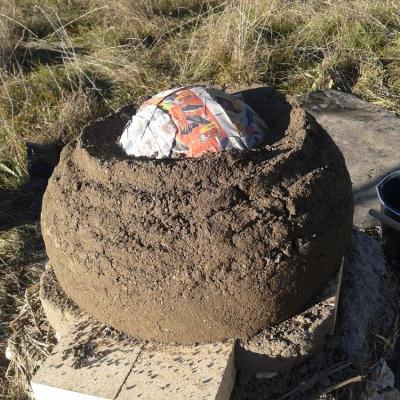
And THEN there was the sand form. For one thing, I find it really difficult to make this as big as it should be. For another, the sun was so warm on that afternoon (November 4, would you believe it?!) that one side dried far too quickly, and there was always sand trickling down. Ugh… and then I had to learn something the hard way, I was smoothing the form with a short plank like it says in Kiko Denzer’s book, “walking” the plank around the sand form – but I wasn’t careful enough and pressed a little too hard, and half the sand dome collapsed. I think I nearly cried! – But guess what, it actually took me hardly five minutes to rebuild it so pfff. ;-) Had to wrap that up for the night though, so I wetted the newspaper well and covered the whole thing with a huge plastic tarp over a makeshift wooden tent.
Making the actual oven
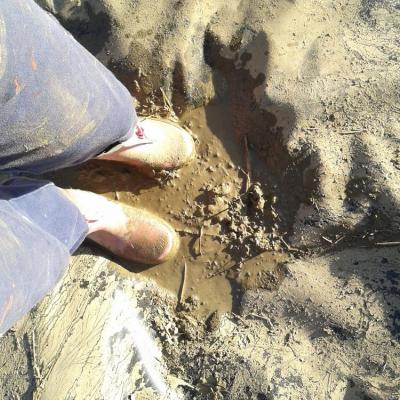
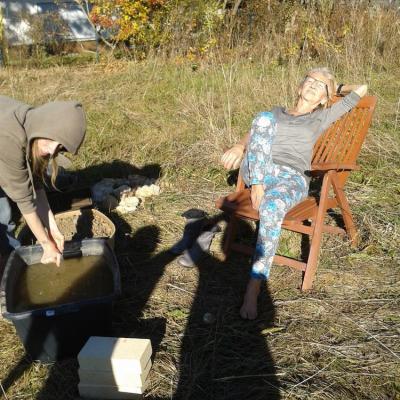
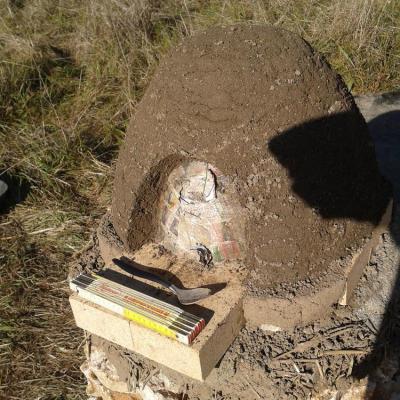
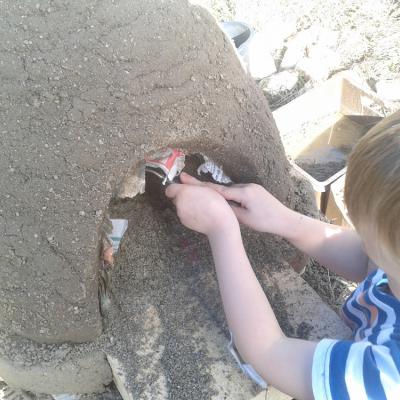
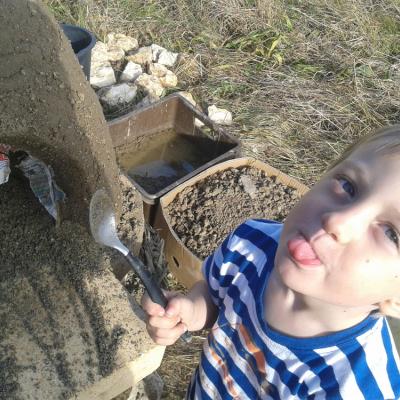
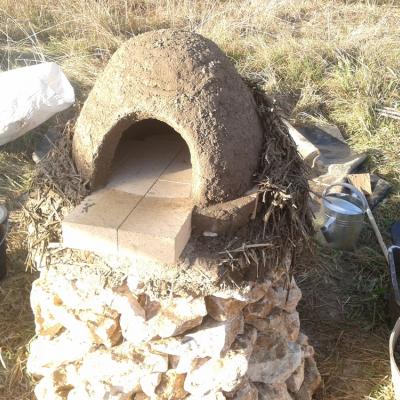
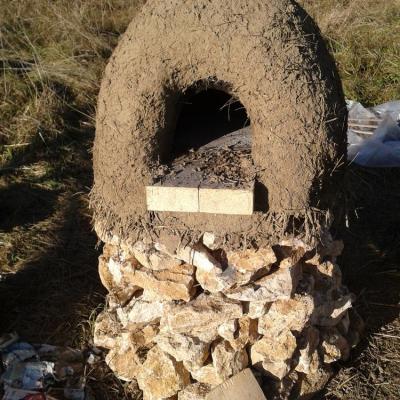
Not much to say about that really – what I’ve come to understand is that an important bit of getting a cob oven to work as you want it to is to get the respective thicknesses of the heat retaining and the insulating layer right. Make the cob layer too thick, and the oven takes too long to heat up; make it too thin, and it won’t get really hot at all. Make the insulation layer too thin, and it’ll lose heat too quickly. I tried my best here but I may have completely failed: my cob layer really slumped and sagged, and in the end I used an old saw to take some off. Which of course made the thickness pretty difficult to determine. I had some company during the process, which means you get to see other parts of me than just my rubber boots. ;-)
Insulation & testing
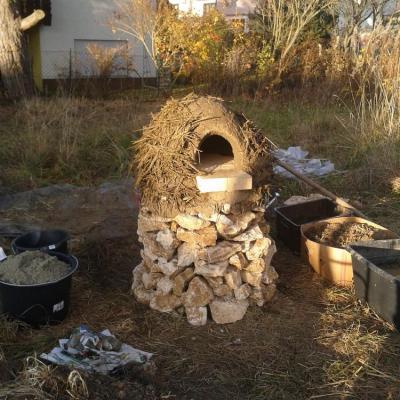
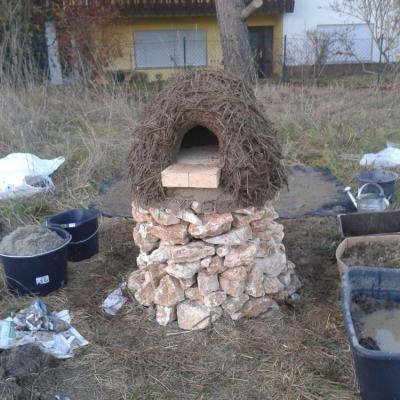
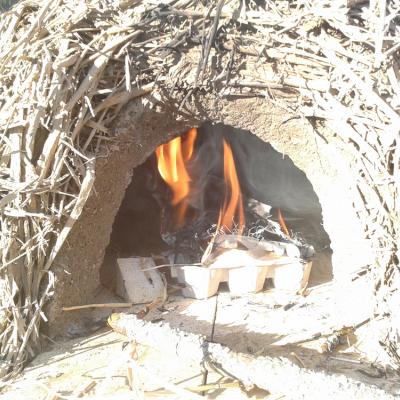
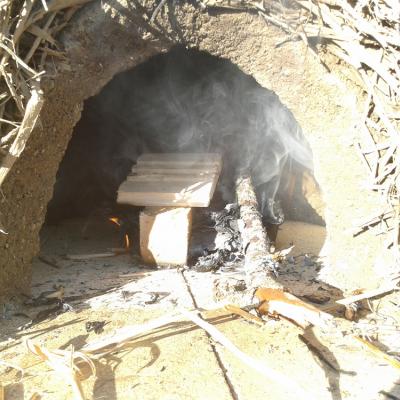
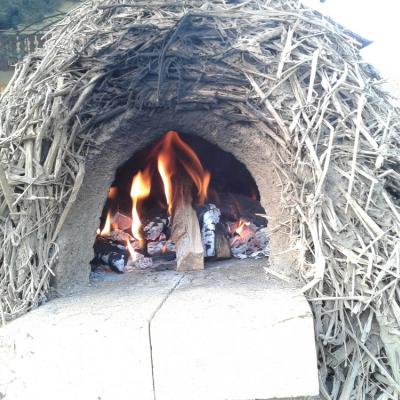
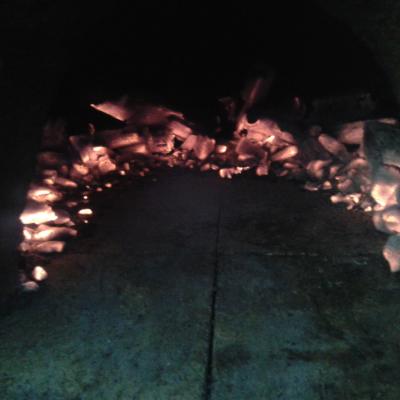
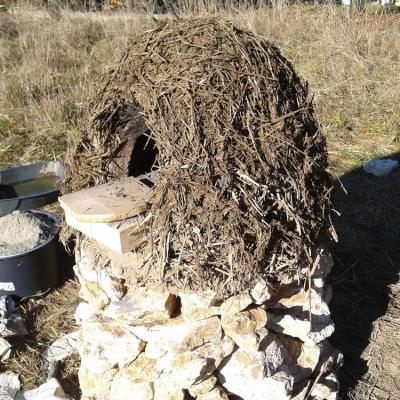
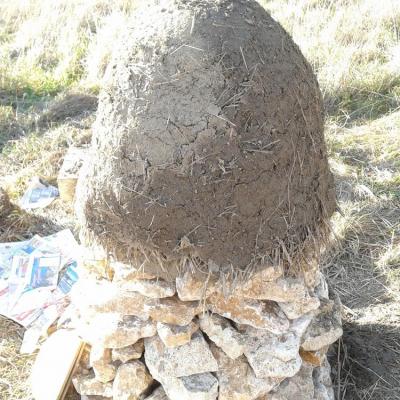
Next, I whipped up some more slippy-straw (loads) and just slapped it all on. I didn’t even try to make it neat, just to make it insulative. And since I was keen to know whether I’d done a better job this time around, right after finishing the ragged, jagged, straggly insulation layer we fired it up for testing! It’s both a shame and probably also a good thing that we only took pictures of the fire and nobody photographed, or worse FILMED, my sister and me, trying to get a fire going by huffing and puffing and blowing and giggling and making jokes about prenatal classes and just generally falling apart laughing. (We tend to do that whenever we’re together.) Well, to be honest the test wasn’t really conclusive. I’m not too practiced at making fires, especially in cob ovens, and I’d underestimated the time it’d take us to get one going. In short, dusk fell upon us, it got pretty cold and the kids’ bedtime also wanted honouring. So we didn’t really get around to baking anything… and after that day (Nov 8) we didn’t get another chance at a test run before winter.
Finishing & a makeshift roof
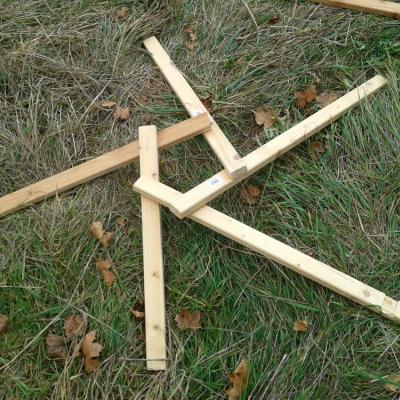
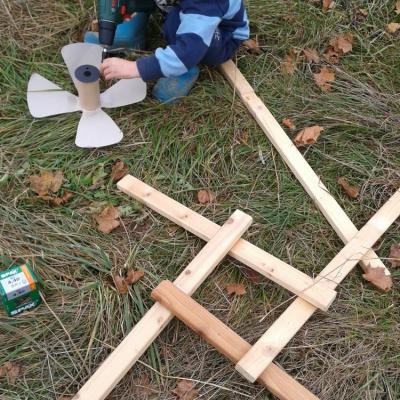
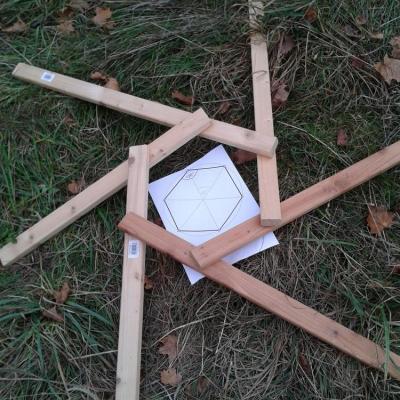
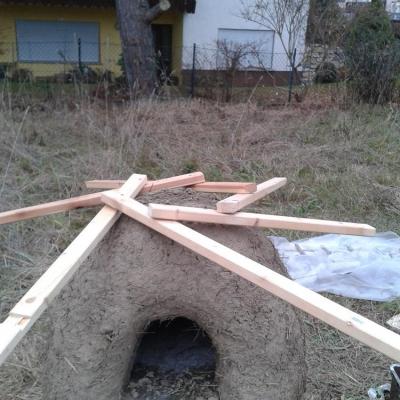
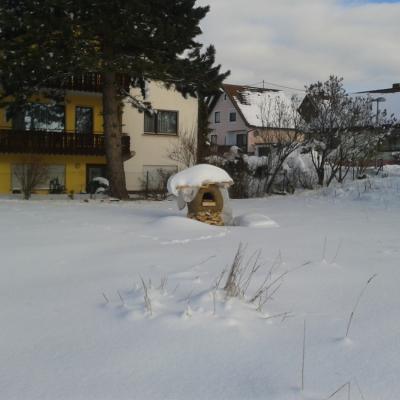
Three more afternoons with lovely autumn sun, and I spent them on a sort of pre-finishing layer. Not fine enough for a real finishing, but a lot nicer than the straggly insulation layer. I’d run out of straw, so I used hay for this, which isn’t optimal but really not a problem in an oven’s finishing layer (especially since this is a very temporary thing anyway). And then I had some fun experimenting with reciprocal roofs! I’d always wanted to do one of those, I think they’re just absolutely brilliant. Experimented a bit and then decided on the six-pole version. They’re different lengths, and I added some supporting poles (not in the pictures) which I put in rather asymmetrically, but that didn’t seem to be a problem all winter. However, I didn’t get around to covering it with sheet metal as I had intended, and the plastic tarp was partly blown off (I’d weighed it down with some of large stones) as well as sagging through the holes where it trapped the rain water. Not ideal at all, the oven got wet several times. But not too much :-) so I’m now hoping to spend a day or two next week (school holidays coming up) firing it up again, and maybe even finally baking something nice!
- Log in to post comments
